
Step-by-step guide
Bulk import products from a CSV
5 steps. Prefer to watch? Play the 1:49 video.
On Products, click Download Sample CSV and fill it in.
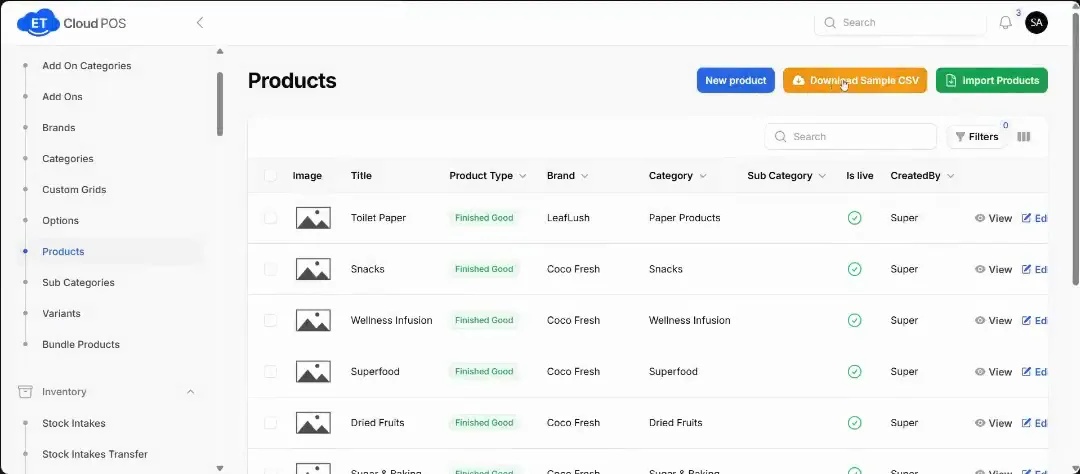
Watch this step at 0:14 → Click Import Products and browse for your file.
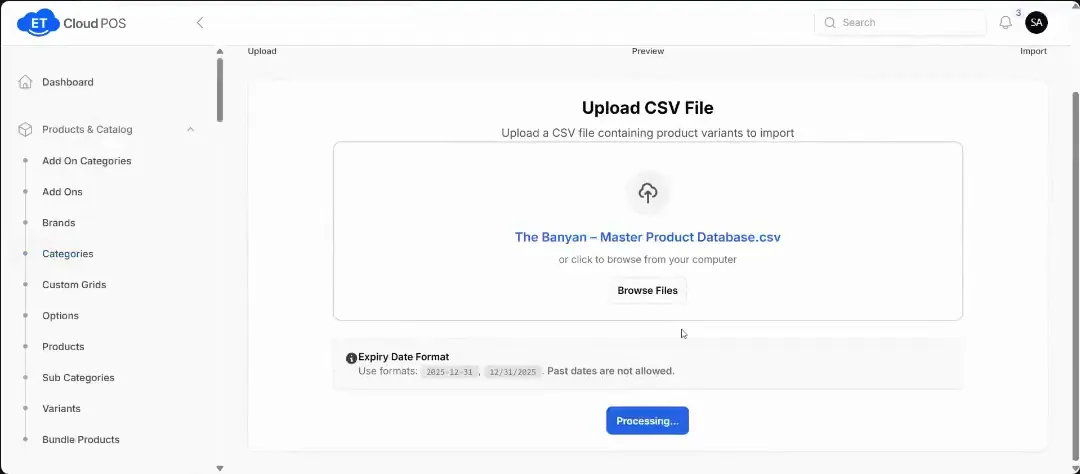
Watch this step at 0:32 → Preview the data. It shows how many rows there are, how many are valid and how many have errors.
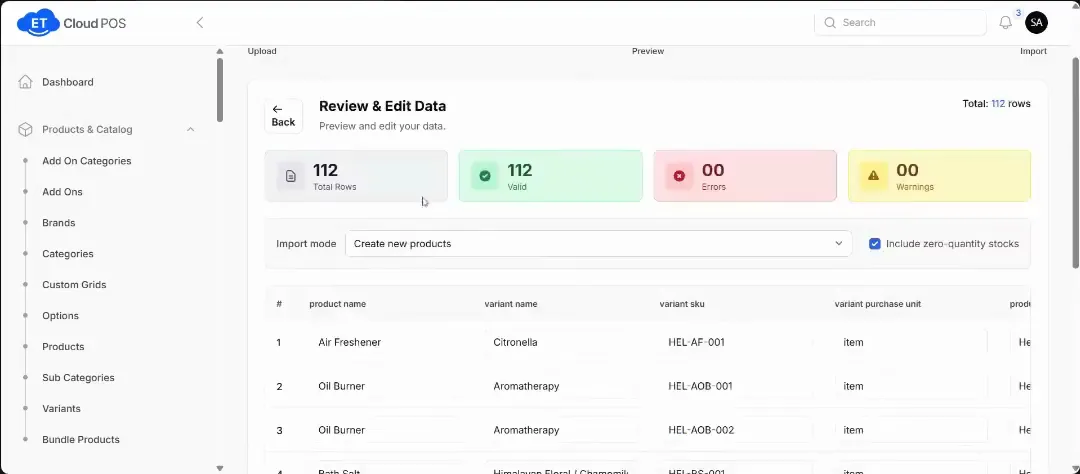
Watch this step at 0:48 → Fix any errors on screen, or fix them in the spreadsheet and upload it again.
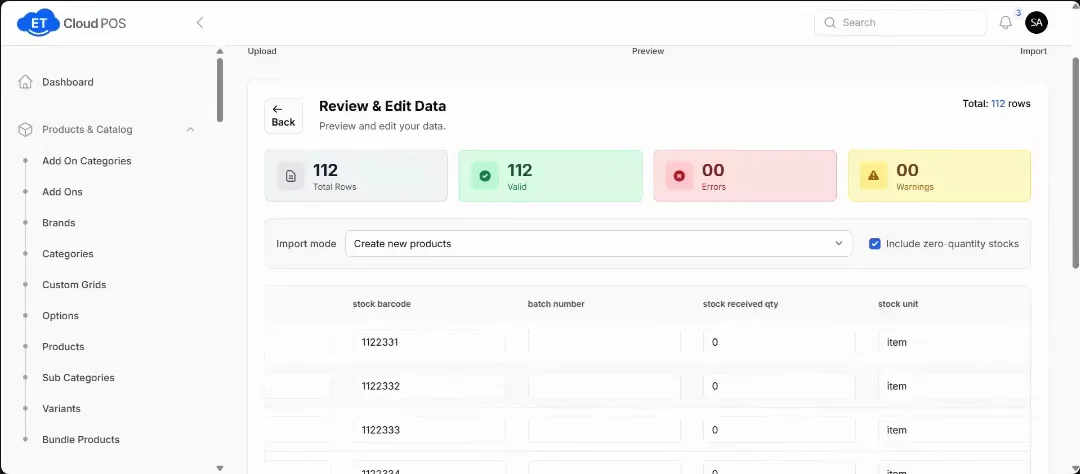
Watch this step at 0:58 → Confirm & Import only appears when there are zero errors.
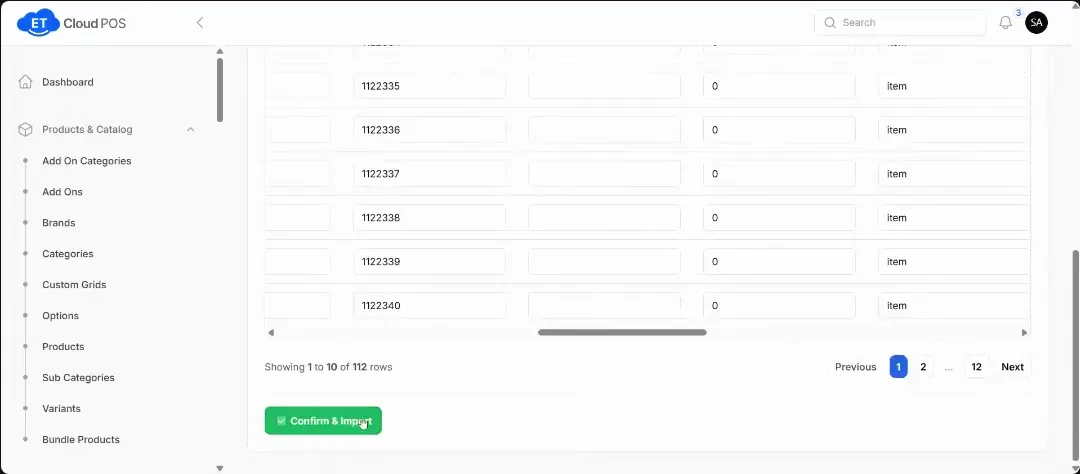
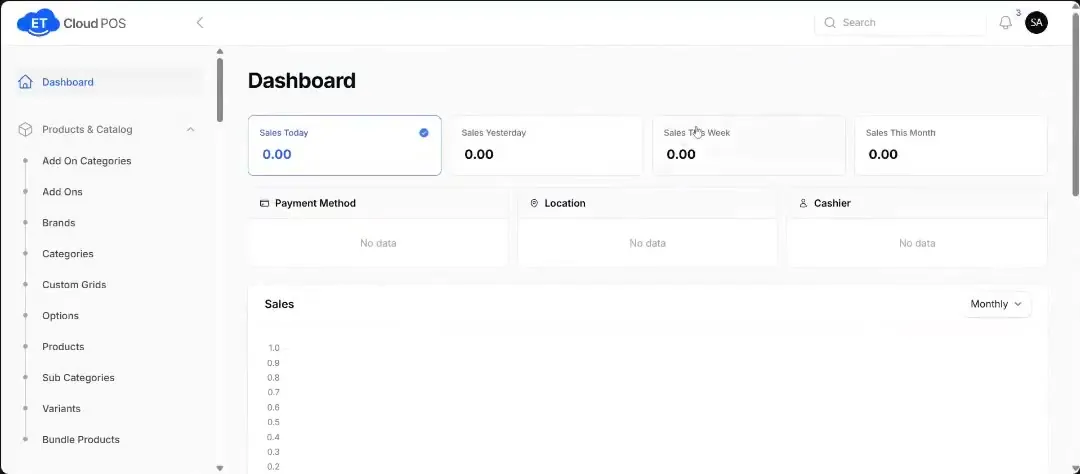
Watch this step at 1:12 →
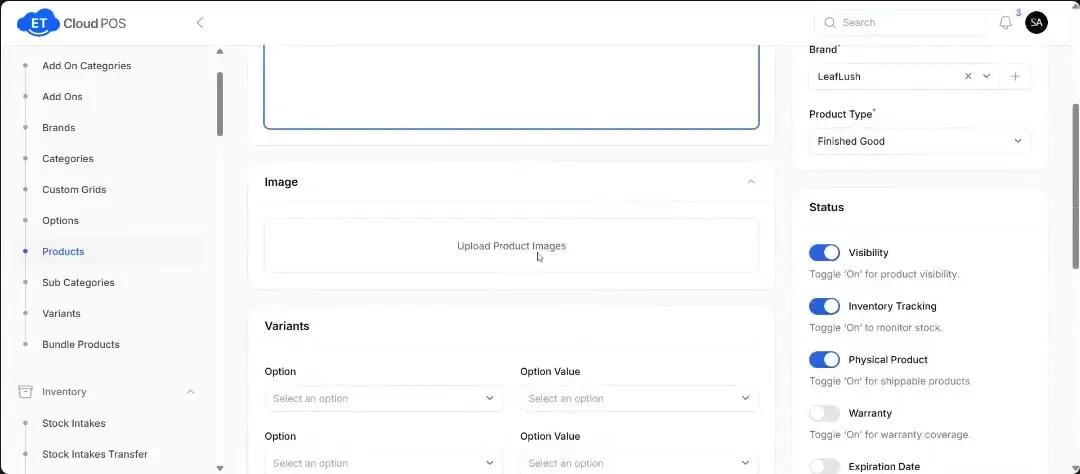
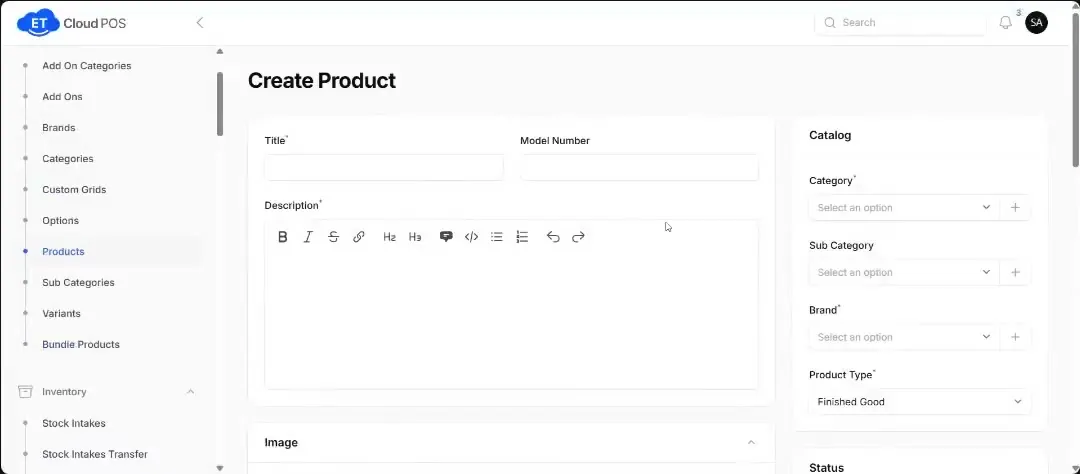
Tip Re-uploading the same products: “Create new products” adds every row as a new product. “Replace existing variants” only updates the rows you changed. This screen is for product details, not for adding new stock.
Still stuck?
Our support team is there 24/7. Tell us what you were trying to do and we'll walk you through it.