
Step-by-step guide
Stock adjustments for damaged or expired items
5 steps. Prefer to watch? Play the 1:38 video.
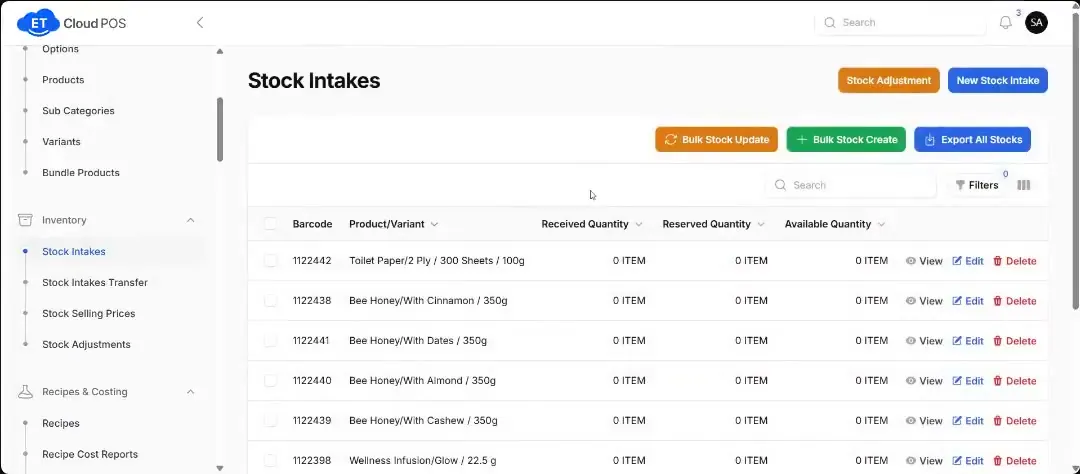
Go to Inventory → Stock Adjustments and click the new adjustment button at the top right.
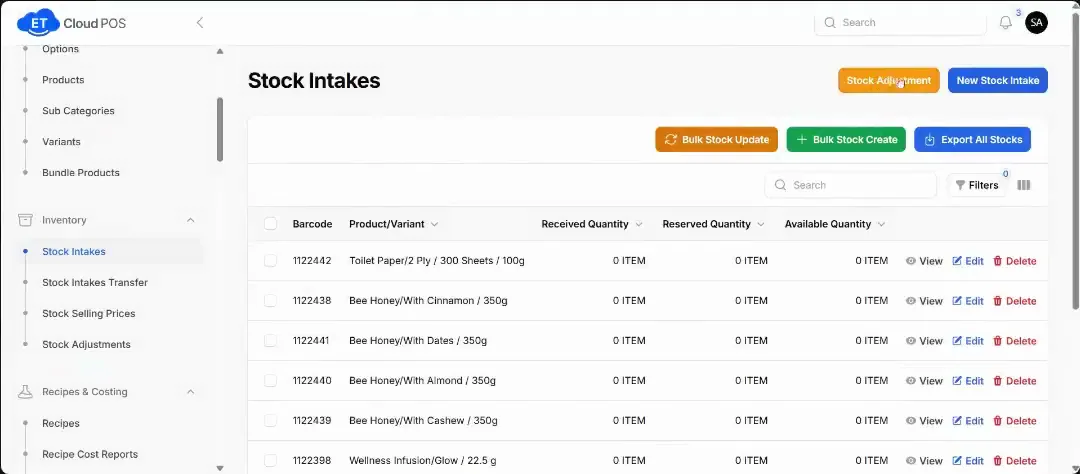
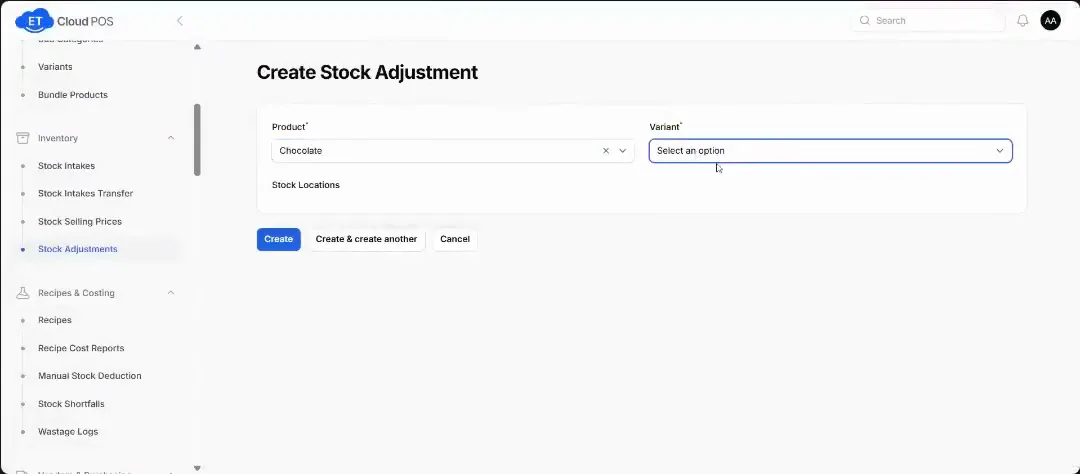
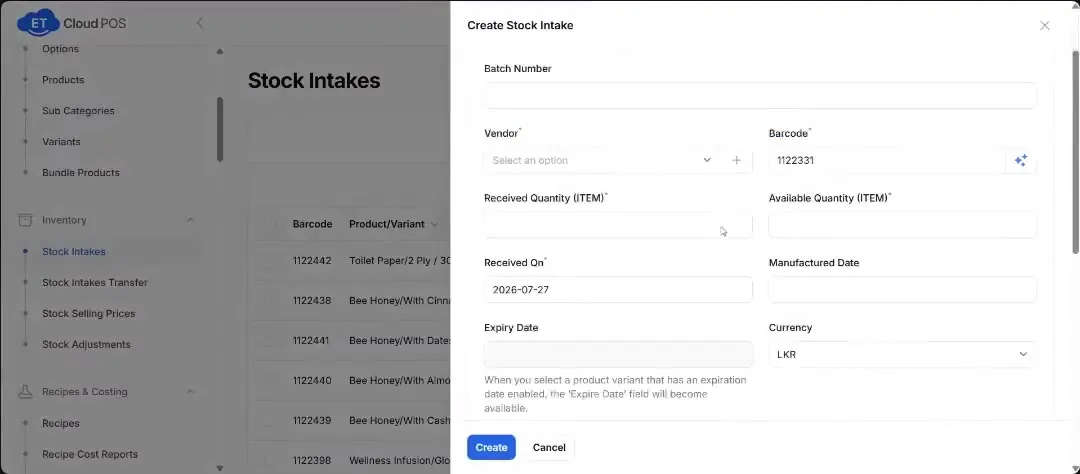
Watch this step at 0:16 → Choose the product and variant. The current stock fills in.
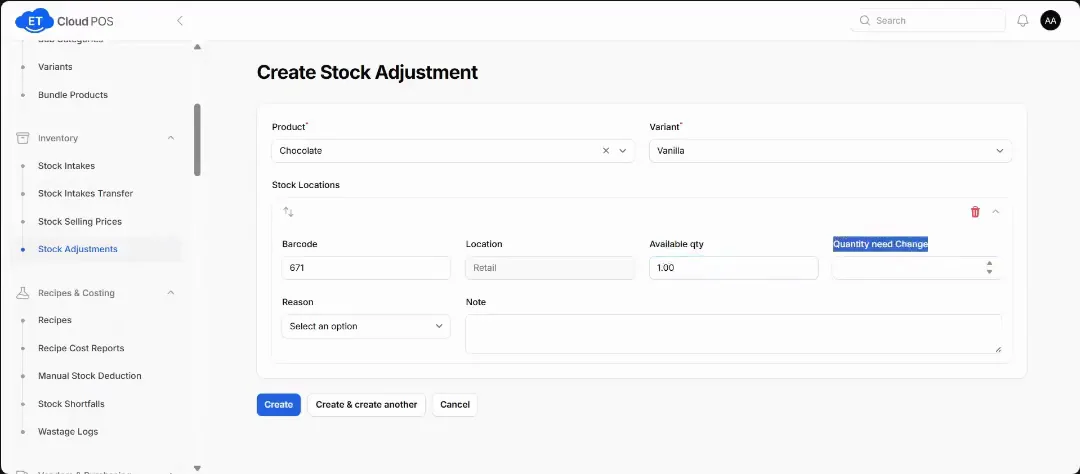
Watch this step at 0:58 → Enter how many to remove.
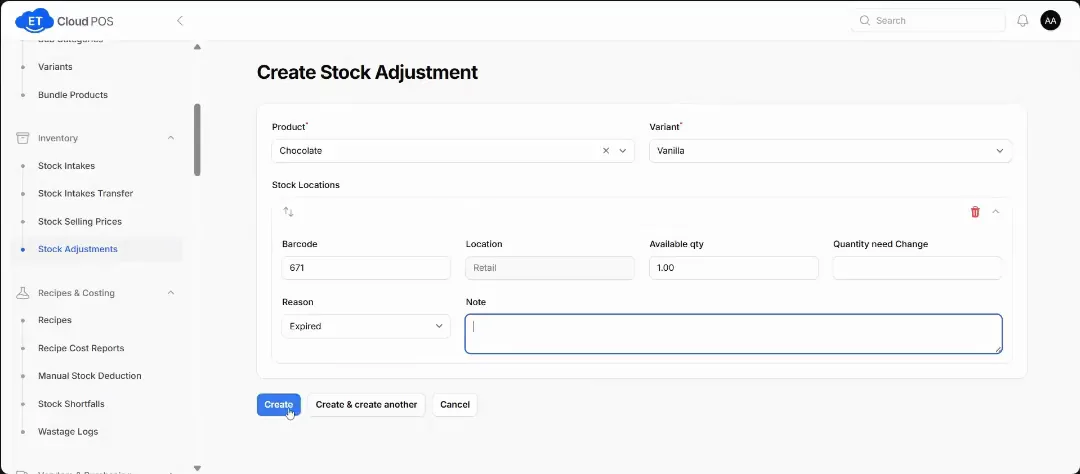
Watch this step at 1:14 → Pick a reason (damaged, rejected, expired and so on), add a note and click Create.
Watch this step at 1:24 → The adjustment is now listed under Stock Adjustments, so you can always see why stock went down.
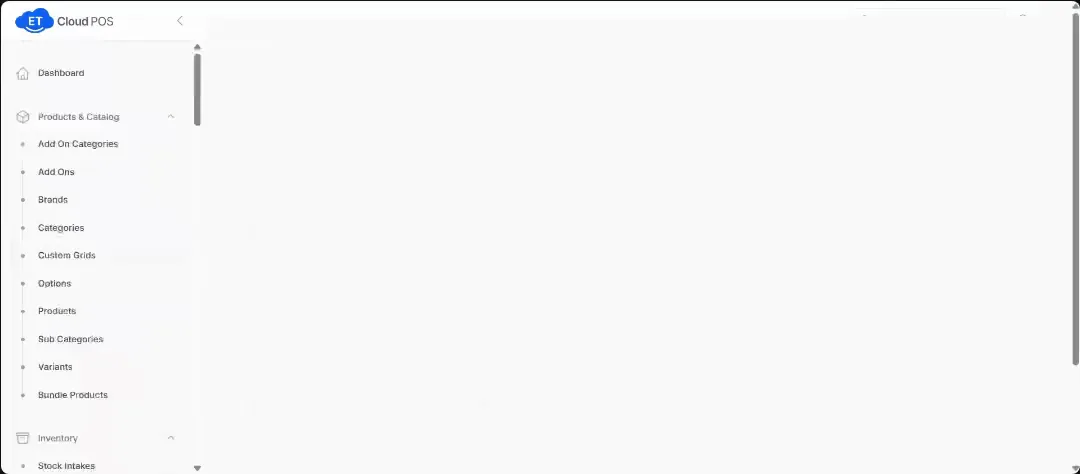
Watch this step at 1:28 →
Tip You can only adjust a product that has stock. You can ignore Recipes & Costing here.
Still stuck?
Our support team is there 24/7. Tell us what you were trying to do and we'll walk you through it.