
Step-by-step guide
Create users, PINs, locations and roles
6 steps. Prefer to watch? Play the 2:18 video.
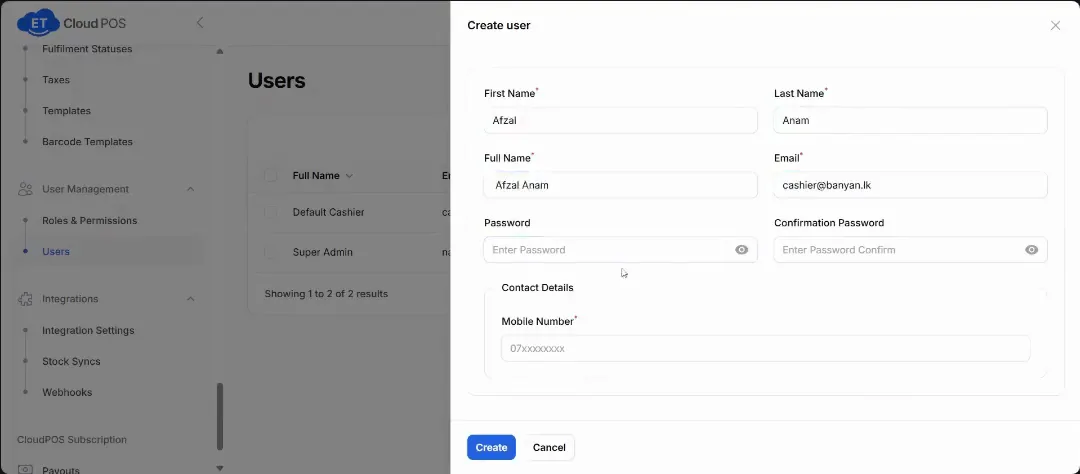
Go to User Management → Users → Create New User and enter the first and last name.
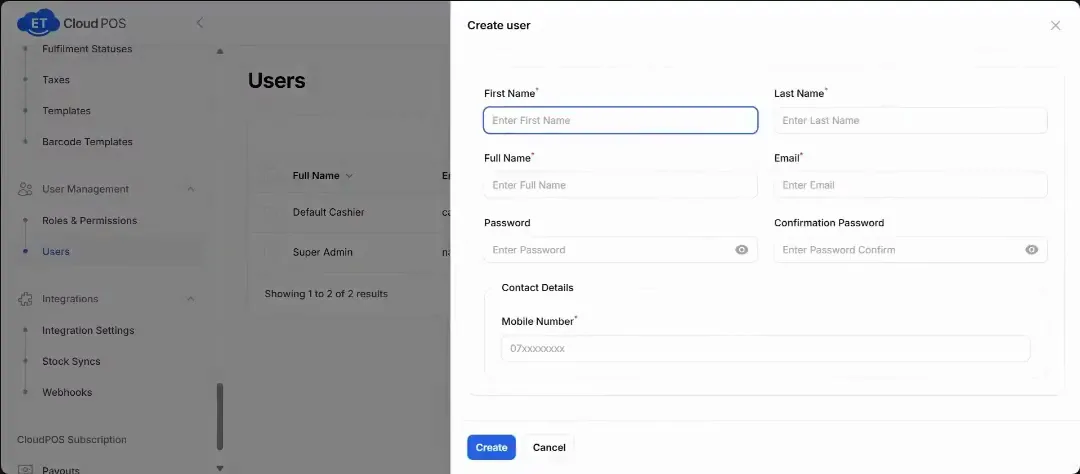
Watch this step at 0:14 → Enter an email. It's only a login username, such as [email protected], so it doesn't need to be a real inbox.
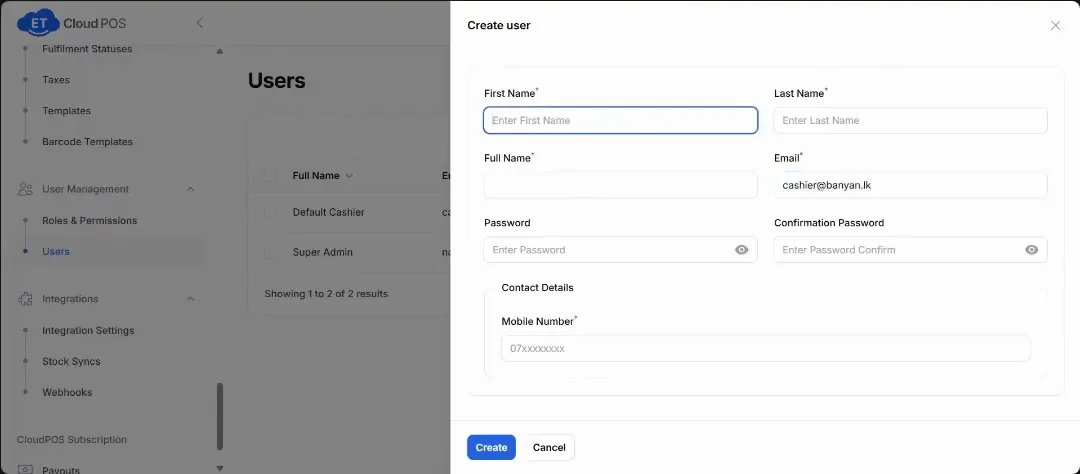
Watch this step at 0:36 → A password is generated for you. Change it before you hand over the account.
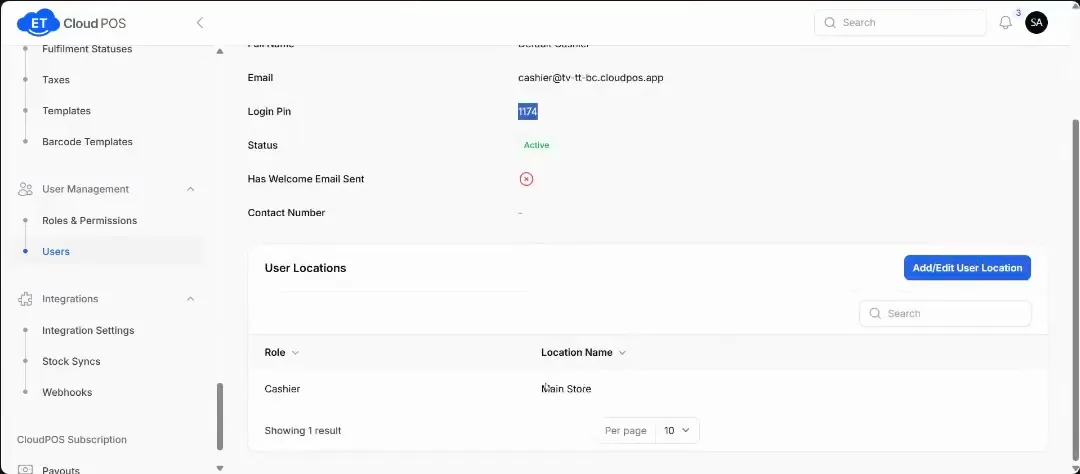
Watch this step at 1:00 → After saving you'll see a login PIN, which the cashier uses to sign in to the POS.
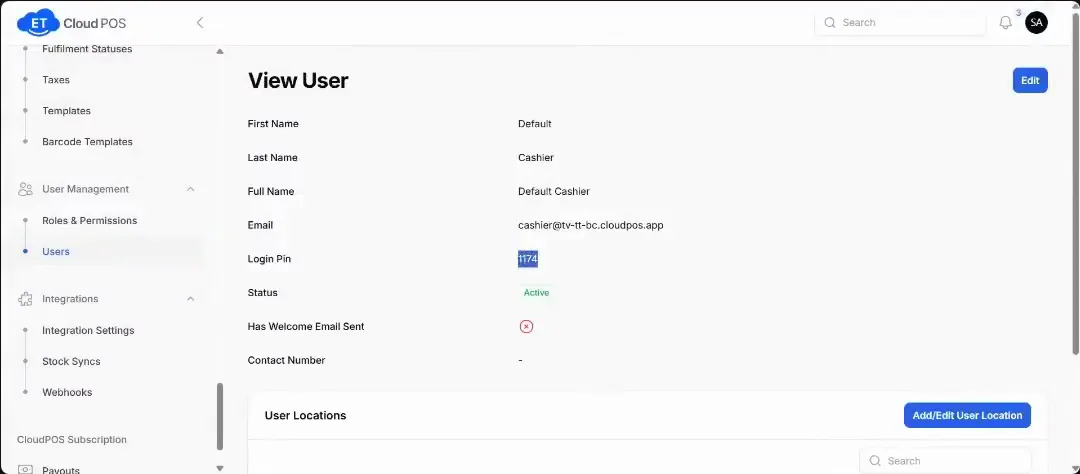
Watch this step at 1:22 → Assign a location (Main Store for now).
Watch this step at 1:36 → Under Roles & Permissions, edit a role or create a new one and untick what it shouldn't access.
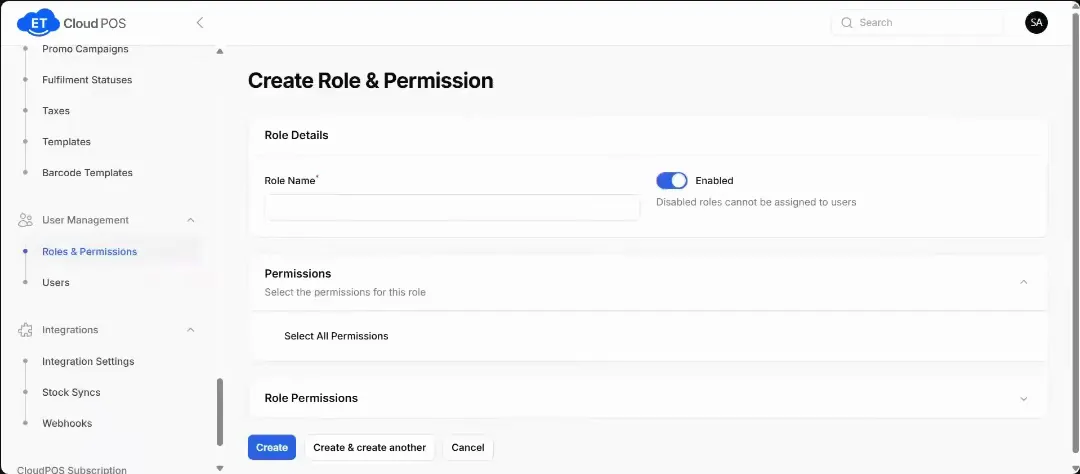
Watch this step at 2:04 →
Still stuck?
Our support team is there 24/7. Tell us what you were trying to do and we'll walk you through it.