
Step-by-step guide
Create and send a purchase order
6 steps. Prefer to watch? Play the 2:17 video.
Go to Purchase Orders and create a new one.
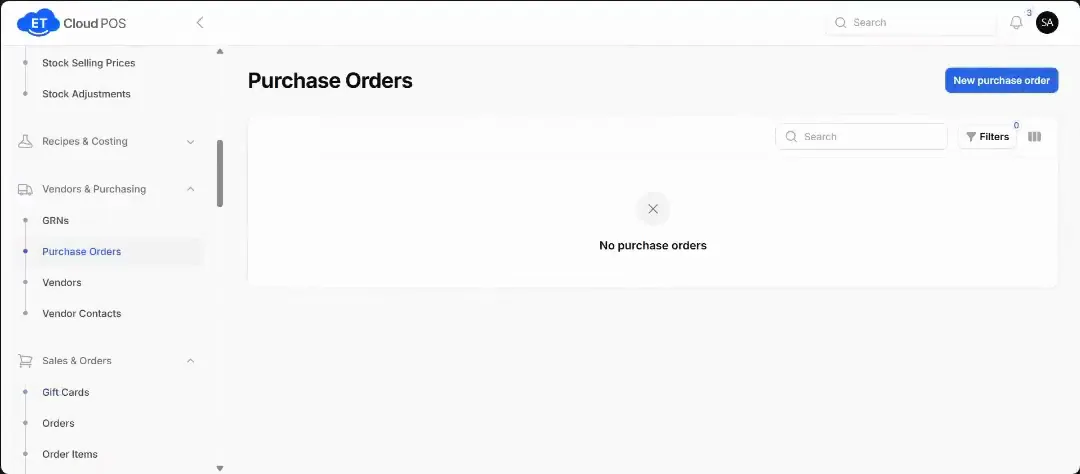
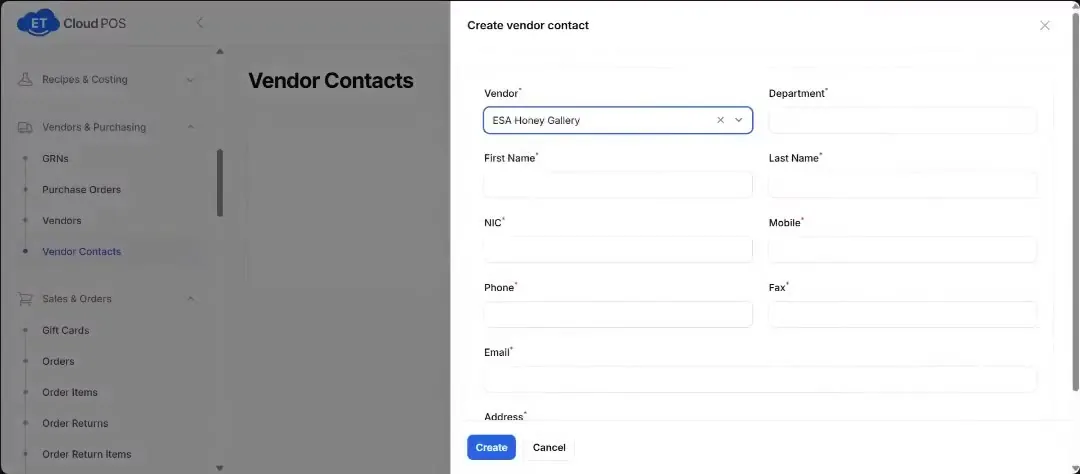
Watch this step at 0:18 → Choose the supplier (their contact fills in) and the date you need the goods.
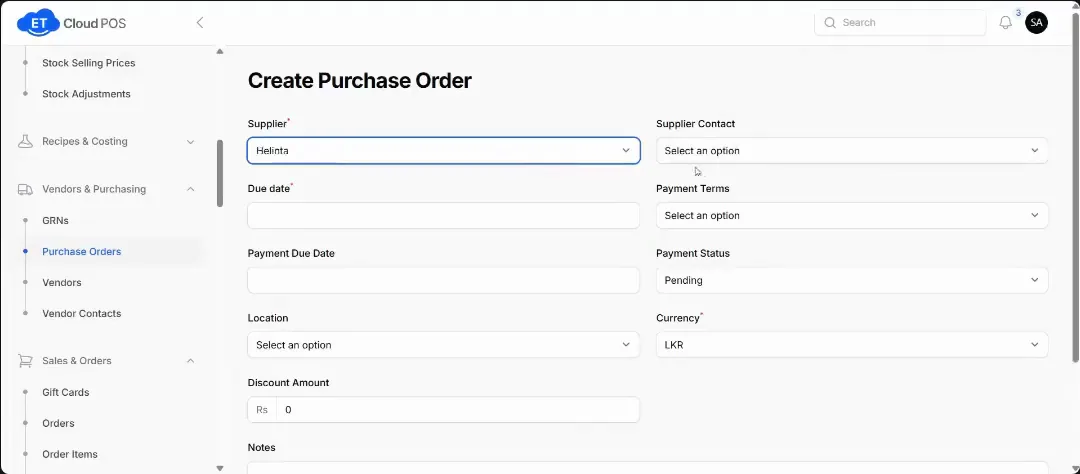
Watch this step at 0:22 → Add any payment terms, such as 30 days' credit. The due date is set for you.
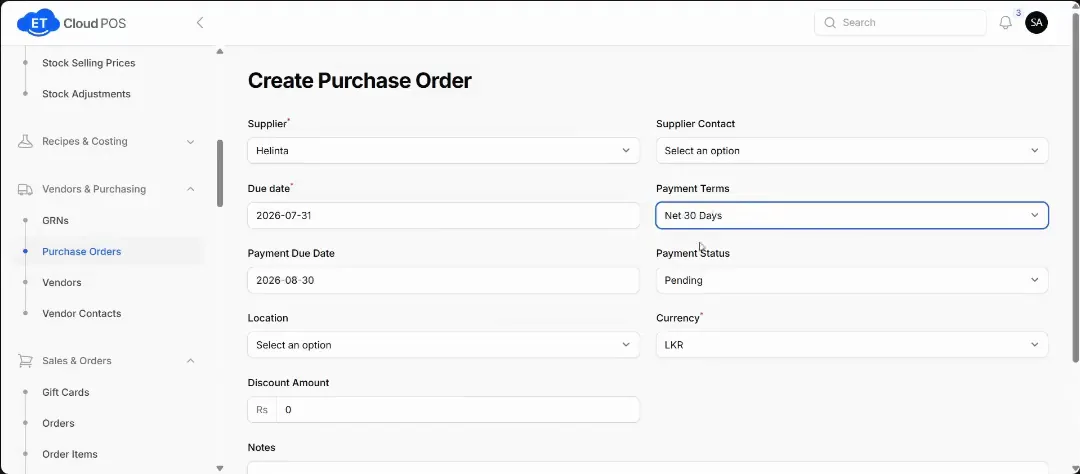
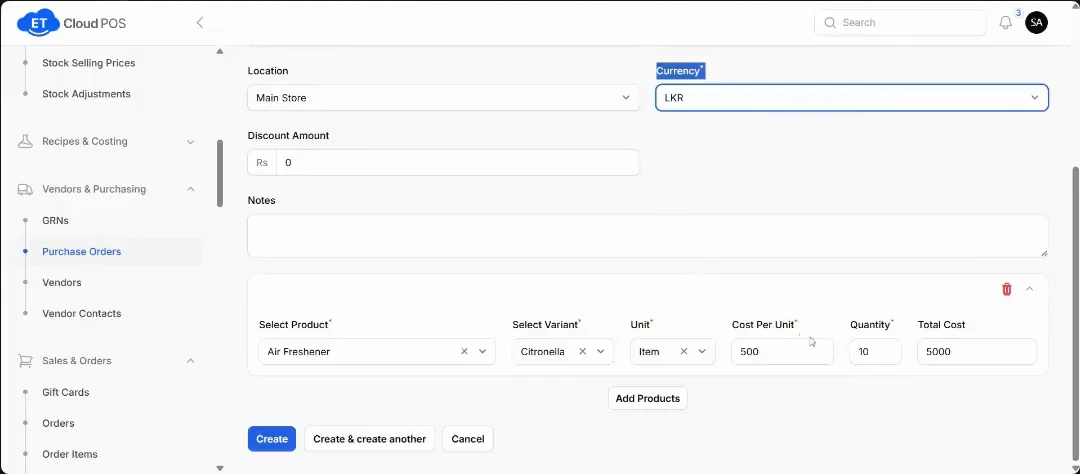
Watch this step at 0:40 → Leave the location as Main Store and the currency as LKR.
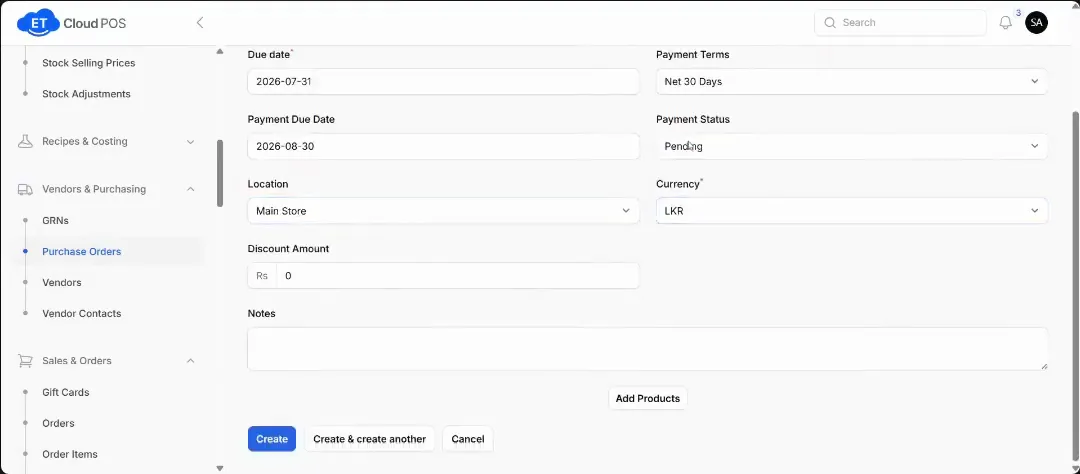
Watch this step at 0:48 → Add the products with their variant, cost and quantity, then create the order.
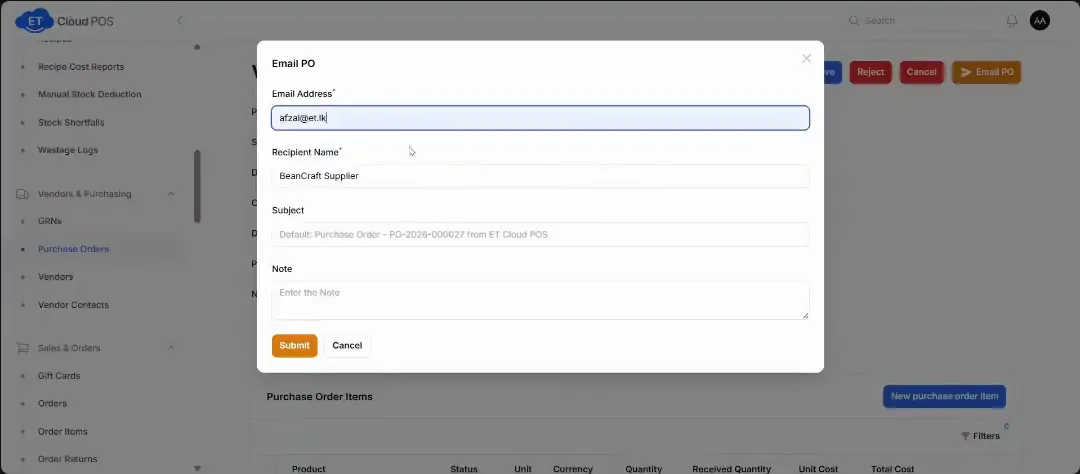
Watch this step at 1:12 → Approve or reject it, then email it to the vendor: their address, a subject and a note.
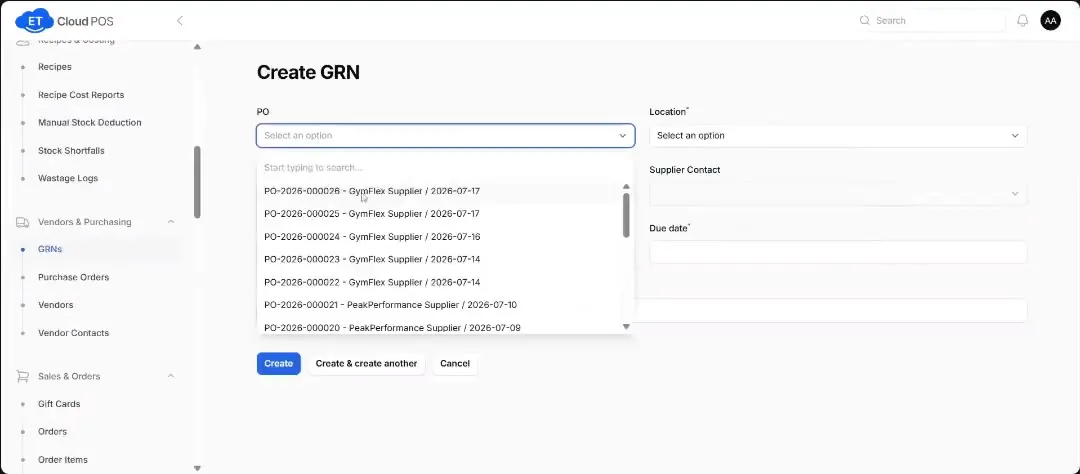
Watch this step at 1:52 →
Tip Why use it: the order goes straight to the vendor, so you don't have to type out what you need on WhatsApp.
Still stuck?
Our support team is there 24/7. Tell us what you were trying to do and we'll walk you through it.